Riding in the cold is a love hate relationship. Some of us can't wait to get muddy, cold and wet. The rest can't wait to get to the pub. We reckon many of you softies who would rather stay in the van with the heater on would benefit from afew setup tips to get your bike feeling that little bit better when the barometer reading drops.
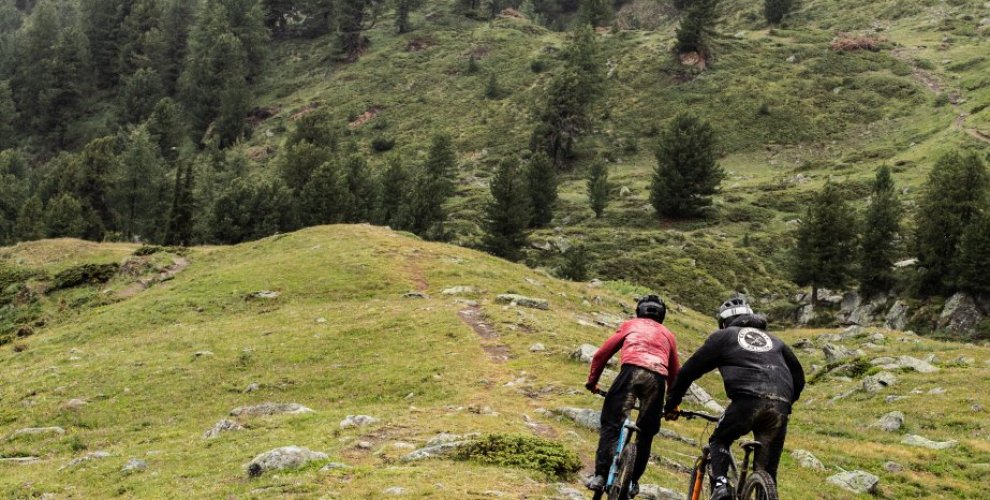
This is either obvious to you, or a light bulb moment, but your bike works differently at different temperatures. Suspension does not like the cold, it will react slower and appear to have more friction at the beginning of the stroke. Your tyres will have less grip, the silica will harden and not conform as well to the ground, even your shoes and how they grip the pedal. add to this a stiff and awkward body that is tensed from the cold and well, sounds like you are in for a rough ride!
Be excited to get muddy
How do you beat the cold?
If you want to crack on and make the best of it, it's worth getting yourself and your bike prepared and it's easier than you think.
Basically, loosen up! Let's run through the key areas you can do that bit by bit.
- Body
- Riding Kit
- Suspension
- Tyres
- Contact points
Body
Take afew minutes before riding to get yourself acquainted with the outdoors. Hop out of the van and do anything from a bit of yoga to star jumps or burpees. Shout a bit, holla to your buddies, get hyped, jog on the spot, hit some reps on a PRAEP bar, just get that blood pumping or everything is going to start off on the wrong foot.
Here's a set routine if you're lacking in motivation or imagination;
- 10 Jumping Jacks Queen, Elton John song, or DNB beat
- 20 Alternating side planks
- 30s Mountain climbers
- 45s Butt kicks, mimmick trail flow with your hands and eyes shut for full WC/EWS experience
You should now feel equal parts warmed up and stoked!
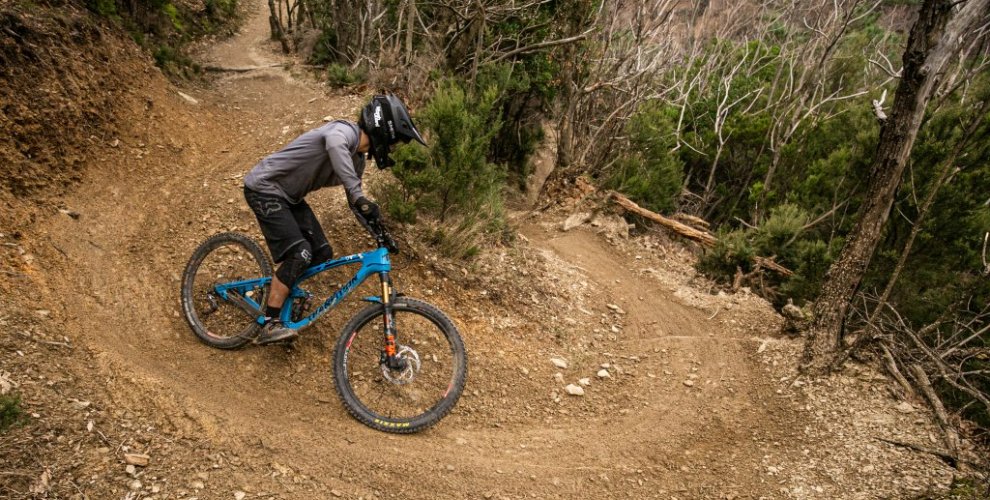
keep the weight centered
Riding Kit
If you're heading out in the cold, wet slop why are you wearing a hoodie? There is loads of kit available now to make your life so much toastier and warm, and rather than you ending up like a mobile sauna there is plenty of gear available that's breathable and lightweight aswell.
Here's list of must have riding kit;
- Shoes - Five Ten rubber grips amazingly well even in the cold, it's soft, durable and grippy if you have to push up in the mud. Ditch the Vans and invest in your feet.
- Socks - Find a decent brand that make decent socks, there are so many around, even Marsh Guard make them, and they are probably the best riding socks we've owned.
- Gloves - These are all about preference. Some people just can't hack gloves, some kind ride without them. Either way, you're the only one that can answer this question. If you normally ride gloveless you'll be amazed at the feel a modern glove can give, try the Fox Flexair series for example. You can even use your phone with them on!
- Jersey - The Fox Defend Polartec range is remarkable on a warm or cold day. Paired only with a cotton t shirt underneath and a light jacket on top, you can be warm and snug as you need to, but with it's breathability it can be stripped down to just the jersey to make for an all year round piece of riding gear.
- Jacket - Probably the single biggest investment in kit you should make for cold weather riding. Fox make the most comprehensive line up of wet weather gear around, tailored to fit you in your riding position and with all the smart pocket features you'll need. It's best to spend up from a standard wind jacket, though this is a good piece of kit for the back pack. Try the Ranger and Attack series and go with what you can afford and like the look of for the conditions you'll be riding in. Paired with the Polartec jersey, we've found the Ranger series water jackets very good in anything down to zero degrees in the Alps.
- Pants / Shorts - It's surprising how quickly you'll heat up if you have thick riding pants on, for the most part we ride in our normal mid weight gear to keep the balance between too hot and not hot enough. Your core and extremities are the most important things to look after, feet, hands, chest and head.
- Armour - It's going to be slippy, and the ground is going to be hard. Knee pads are a minimum, if you don't wear them every time you get on the bike you're a cross country rider, or an idiot.
- Helmet - Wear a helmet. All the time. It doesn't matter how hot or cold you are if you're dead.
Suspension
Here's the tech. Suspension can be as much mind over matter as it is fact, as it's only you that can understand and react to setting your bike up differently. It's a certainty though that if you ride your bike at 2 degrees at Windhill in December, it's going to feel very different to Super Morzine in July if you don't change something.
Forks
For starters, drop some PSI from your fork. How much is going to be dependent on how heavy you are and where your starting pressure is. For example, the rider of this Transition Patrol is 70kg and usually runs 2 volume spacers and 68 PSI in his Fox 36. Dropping to 60 psi gave the best results in grip and small bump sensitivity, which is what we're looking for, so around 12% of starting pressure.
This is going to be a little bit of trial and error, but try 12% off your starting pressure and the adjust your dials from there. If you drop anymore you will probably need to look at adding more volume spacers to compensate.
Before you start twisting dials, why are we doing this? The answer is to obtain more movement in the fork, particularly for small bumps, this will help grip on the wet stuff and also help your joints and the fork components which are stiff from the cold. So, look first of all the rebound dials on your fork and speed it up a couple of clicks. This is going to help the fork recover quicker from impacts and give it a more active feel.
Why not compression? nothing stopping you fiddling with these dials. You're going to leave high speed pretty much well alone. It's about low speed, rider related adjustments, not big hits. You'll probably want to harden it up afew clicks after you've dropped some PSI, but start at your standard settings and fiddle from there.
Shock
The rear shock is about balancing what you've done up front, if you have air, drop afew PSI and take off some rebound in the same kind of ratio as you have upfront. If you are running a coil, well unless you have a softer weight spring you will have to rely on the dials. A good benchmark is to remove a click of rebound for every two clicks of compression removed. So you'll soften and speed it up all at the same time.
These settings will probably feel crap on a normal day, and as you ride in the cold more you'll find yourself dialling back into where you normally set your bike up, but it's a good and very helpful way to get your bike feeling right on a cold day.
Tyres
Hugely important! Tyres make a massive difference in the cold and wet. For starters, run a decent tyre with good tread, maybe even a mud or semi mud tyre like a Maxxis Shorty. Whatever tread or brand you run, chose a soft compound grip that will contour to the ground, rocks and roots better in the cold temperatures.
Tyre pressure is always something good to play with. Even if you are racing, it's a good idea to drop a couple of PSI as the grip you'll gain will outweigh the rolling speed. It's not the worst idea to run tyre inserts like Rimpact to help the wheel deal with the lost pressure, they are soft enough that it will not hurt the grip and feel of the bike.
What pressure to run is always preference, we are asked all the time. If it helps, this bike runs 25 PSI front and rear on a normal day, and drops to 21/22PSI in the winter, based on double down or downhill casing tyres and inserts. But that night feel terrible for you. As a word of advice, most people who ask are often running their tyres way too soft or way too hard, they are asking because their bike feels terrible. A normal person runs tyres between 21 and 30 PSI on a normal day in a normal place on a normal bike, and usually front and rear will be within afew PSI of each other.
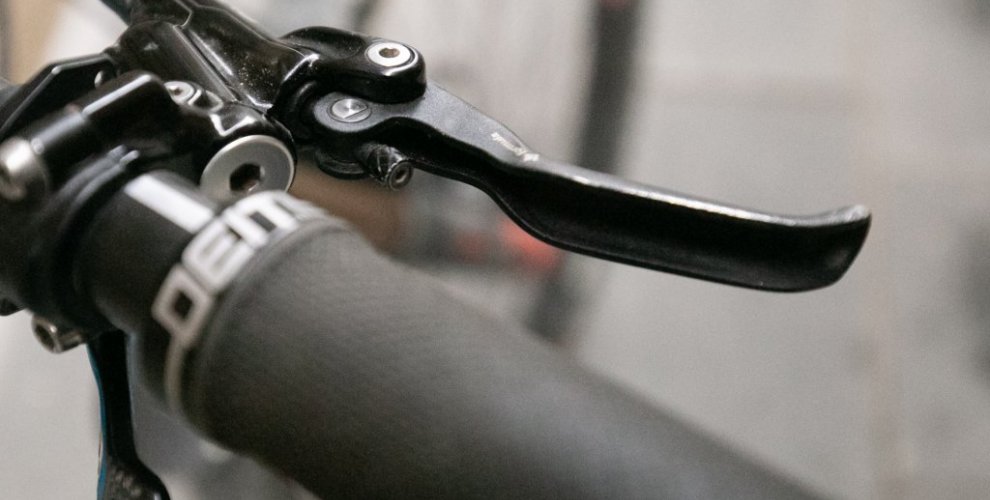
Brake lever adjustment

Contact Points
Less about the actual components and more about how you set them up, this hint goes way beyond even winter riding.
It is easily the number one reason riders struggle with grip, jumping, corners, fatigue, braking, you name it, if this isn't done correctly you'll struggle to make anything else make sense. To be frank, it does not matter one bit about your personal preference or have you've always done it, unless you are on a factory deal and fighting for podiums every weekend, set your brake levers up correctly!
It's amazingly simple to do and effects your entire body position on the bike. If you are not centered, your suspension will behave differently because it does not have the correct body weight applied to it. If you are too far over the front, you cannot look ahead and prepare for obstacles or corners without arching your neck. If your wrists are crooked due to the levers facing down, you're wrists will hurt and you'll have arm up due to the muscles being in the wrong place, facing too far up, same issue though the more up, the more your body weight will shift back so this is a less dangerous position.
So, how should set them?
There is no measurement, put the tape away. Loosen off your brake lever, let them drop so they are out of the way. Against a wall, stand on the bike in a standard riding position. Close you eyes and release your brake finger to naturally reach for the lever. That's where it should be. You'll find, unless you are weird, the position of the lever will make an even line from the knuckle of your finger to your elbow. Trust us on this one, do it.
It's also helpful to adjust your bite point if you can, the smaller the hand the more you want to wind that in, to make it less effort to reach.
So, get out there, get cold, get wet, get muddy, get loose!


